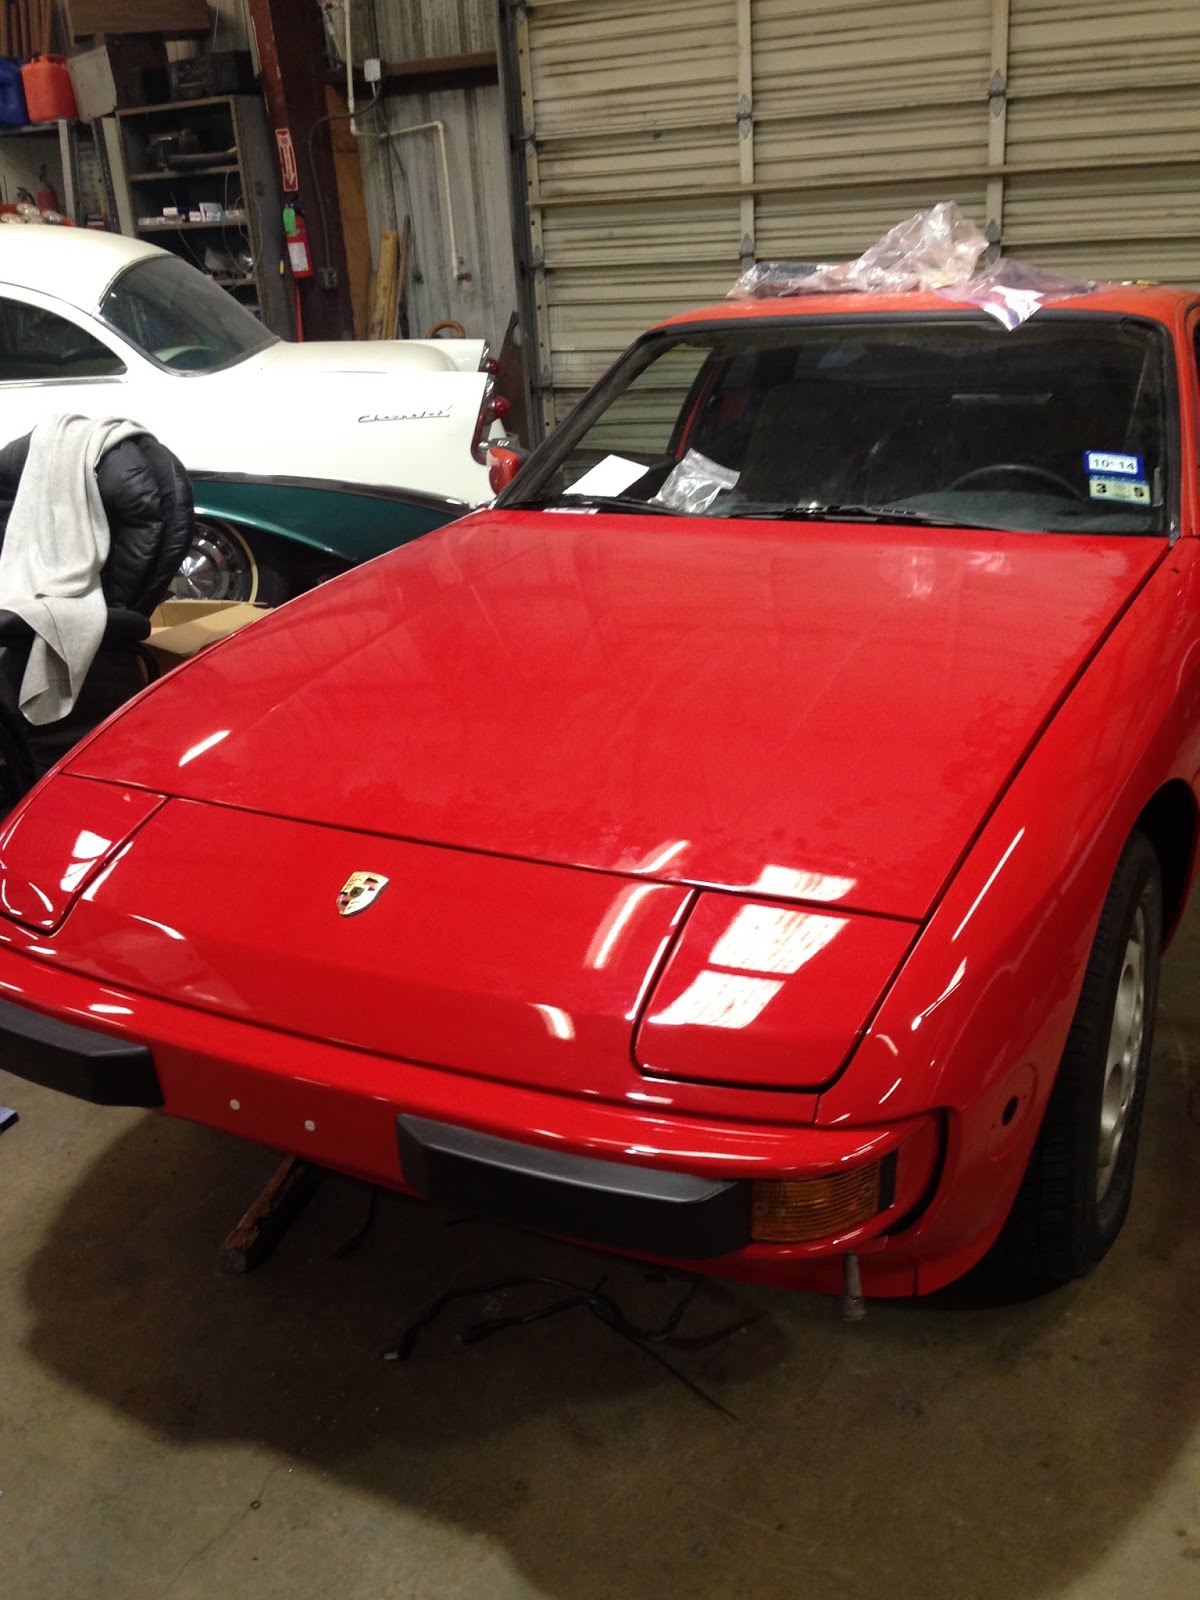
Tuesday, February 9, 2016

More Precharge Challenges

The precharge circuitry on the Porsche has been a challenge since day one. I'm appreciating more and more the well integrated design of the Soliton1 controller in my evTD. I never had to even think about precharge on that because it was built in. Sorry they've left the EV scene.

You may recall that the first time I powered up the Porsche, I fried the contactors. Then I did it again. Third time is the charm, you say? Well, after 200+ miles I came close to another wholesale contactor replacement. This time, after a jaunt up the MOPAC (that's a highway here in Austin, so named because it parallels the Missouri Pacific railway line), I parked it and came back a few minutes later to run an errand, turned the key to see only 6 volts register for the pack! That just can't be, so I spot checked some battery cells - all fine - then  pulled the contactors yet again to find they worked ok after cycling them a time or two, but the precharge resistor was dead - no reading on the multimeter in the ohm setting. So once again, even though it was in the circuit, no precharge was taking place. The contactors likely would have welded closed if I had put them through one more startup sequence.

I had wired the precharge resistor using this diagram from the GEVCU manual:


So my guess is that I either had a defective resistor, or it didn't like being in the circuit full time. After receiving a replacement resistor, I reworked the arrangement adding the yellow high voltage precharge relay to energize the resistor only on precharge and keep it out of play at all other times.


After a quick spin around the block, things seem to be back to normal. We'll give it a more extended test run tomorrow.

Monday, January 18, 2016

Baby Needs New Shoes

Checking out from Pro Automotive after the drive shaft repair, Keith noted that the rear tires were showing sidewall cracks and he sure would hate to see a blowout and the trail of sparks when the battery boxes drag the car to a halt. As usual, Keith is right, so we paid a visit to the tire store over the weekend for new shoes. Turns out all four tires were the same age (2009 vintage) and the fronts would be showing signs of dry rot soon enough, so I had all four replaced.

The replacements are the same model 195/65 r15 Falken tires that came off. That size seems to be a bit odd and not available from every manufacturer, also  sadly unavailable in low rolling resistance tires. Due diligence on Google turns up that Falken, although it sounds vaguely Scandinavian, is the performance brand for Sumitomo Tire company, and pretty well rated on the review sites. I don't know how many miles may have been on the old set, but they showed very little wear for seven year old tires.

I was pleased with the way Discount Tire handled the whole affair. They let me drive the car into the service bay so I wouldn't have to explain the startup process. They used hand tools for removal and installation rather than pneumatic impact guns, then hand torqued the lugs. They wire brushed the studs and wheel mount areas and even asked where I wanted the balance tape mounted.


It's probably psychological, but the car seems even smoother, so between the new drive shaft and new shoes, we're making progress toward a more civilized ride.

Thursday, January 14, 2016

Getting the (half) Shaft

Happy New Year!

I haven't updated this blog for a while, been waiting for resolution on a mechanical issue that reared its ugly head just before Christmas.

The Porsche had been running GREAT! I had put two hundred miles on it and was using it as my daily driver, running errands around town and buzzing down the highway for appointments downtown. Bit by bit, we were fixing some of the rattles and clunks that always seem to go along with a custom build. As my confidence grew, I figured the time was right to get the wife on board and share the EV grin with her. We drove it out to meet a friend for dinner at our local Applebee's, enjoying the time together and the conversation. As we left the restaurant and turned onto the frontage road, it sounded like a coffee can full of rocks and there was no power going to the rear wheels. The trip home was on the back of a flatbed wrecker with the wife having one of those "I told you so" looks on her face. The tow truck deposited the Porsche in my garage (these guys are good!) and there it sat until the Christmas and New Years activities subsided, all the decorations were put away, and all the leftovers consumed.

I was fearing the worst, as I tend to do, thinking the likely culprit was the weld on the motor to driveshaft coupler. Finally last week I pulled the inspection plate off the top of the coupler housing (no small feat) and was relieved to see that the coupler looked perfect. That was a huge happiness because I really didn't want to disconnect everything and pull the motor out and then re-engineer the coupler. So the next line of thought and a good bit of Googling led to the suspicion that the driveshaft to transaxle coupler may have worked loose or stripped its splines. That was only slightly less distasteful in that the transaxle would have to be pulled to make that replacement.


This morning I had the car towed over to Pro Automotive to have the experts put it on the lift and work their magic. Bob just called and told me the right hand axle shaft had failed. I'm delighted! Not only can the motor and transaxle stay where they are, it's really a pretty straightforward repair.

We've ordered a replacement that is a bit pricey, but is an OEM quality German manufactured part as opposed to the "remanufactured" ones that I had sourced when we did the conversion. In this case I fear that "remanufactured" is an industry term for "cleaned the gunk off a used one and sprayed on some Rustoleum".

A recurring theme among the community of EV conversion guys is the frequent breakage of something in the driveline after the conversion is complete. You may recall that I had a transaxle graunch in the evTD, and the same sort of thing has happened with alarming frequency to other EV conversions. No drag racing this time, but with the strong regenerative braking on the Porsche, it's no surprise that there's more stress on the driveline than its thirty year old parts can handle.

I'm anxious to get the car back in service and already have some plans for improvement. Stay tuned ...

UPDATE Friday, January 15, 2016

Bob called to let me know the Porsche was done and ready to be picked up. They shipped the part overnight from somewhere in Illinois and Robert had it installed by 10:00am! Probably couldn't have gotten one from a warehouse in Dallas any quicker. The car runs great and feels smoother than before. It's good to have it back on the road.

Friday, November 20, 2015

A Pinch of This, A Dash of That

The Porsche's been home for going on three weeks now, and I'm getting accustomed to driving it. It's been a bit disconcerting to be out on the road with no instrumentation, though; no clue about the voltage, current consumption, temperatures, or state of charge. Only the speedometer from the classic gauge panel functioned, and rather poorly at that.


Pretty as the they are, the old gauges need to be replaced with something a bit more in keeping with electrifying nature of the car. I chose an Andromeda EVIC (Electric Vehicle Interface Controller) display that is custom designed for the GEVCU controller at the heart of my electric drive. This single display panel covers all of the useful driver information, save for speed.
The speedometer should be at least generally compatible with the digital nature of the EVIC, so an Intellitronix Digital GPS unit in a complementary blue hue was chosen. This speedo also has performance tracking and will measure 0-60, quarter mile, and top speed, along with a trip and cumulative odometer. Add turn signal, high beam, and precharge indicator lights and we have a full complement of function for the replacement dashboard.


To build the new dashboard, we start with ... a board! A scrap of 1/4" plywood will do nicely. I dug out my trusty 40 year old jig saw, got a new blade for it, and proceeded to ruin two blanks before I got to this point. I did cheat and got a 3 1/4" hole saw for the speedometer. Since the speedo needs a 3 3/8" opening, I also picked up a rotary rasp for my drill. New power tools will always warm my heart.

So here's a trial fit with most of the bits in place:


And here's the final fitting after many coats of flat black from a rattle can:


Yet another terminal board was needed to manage all of the connections. The large black box is the GPS controller for the speedometer. The relay turns on the brake lights under regenerative braking. That was actually the first thing I did on this dashboard project because with the aggressive regen produced by the Siemens motor, you can literally drive with only the power pedal. I don't want drivers behind me crawling up my tailpipe (sorry, no tailpipe) when I stop without signaling. The terminal board was installed under the dash in the space vacated by the gas engine Electronic Control Module.

The unit looks pretty nice when in place, but getting it there was a multi-day effort and wiring everything took hours of laying on my back with my feet in the air and squeezing my hands into very tight places with sharp edges.
All of it was worth the effort, because the effect is really quite stunning.


Now I need to figure out what's up with the Ah reading, but the rest of the info looks like it's accurate. I was a bit concerned about daytime visibility, but it appears to be a non-issue today in bright sunlight, and even is readable with sunglasses on - all good. Took the opportunity to remount the steering wheel in a more straight ahead position so I don't feel like I'm driving crabwise down the road. This has been a satisfying refinement of the car, next item will be to dampen the sound on the power brake vacuum pump.


Wednesday, November 4, 2015

On the Road Again

Bob called yesterday to let me know the Porsche was ready to be picked up. Pro Automotive had delivered on everything I asked of them and much more!


In front of the shop with my Leaf in the background

Here's the team that made it all possible: on the left are Colton, Bob, and Keith, three generations of a wonderful family business, with Robert on the right. Many thanks, Guys!
Master Craftsman Robert Juarez in front of his creation. Robert did all the fabrication, body, and paint work. He's taken a very personal interest in both of my EV projects and has been a source of great ideas and practical applications.


PorschEV arrives at home after the short jaunt up Highway 620 and down Anderson Mill Road. The car drives great!


The PorschEV takes its place alongside its sister ship, the evTD, both products of the care and craftsmanship of Pro Automotive.


And I can't overlook the role played by Jack Rickard and EVTV. The EVTV Store was the source for nearly all of the major components inside the PorchEV, and it is Jack's vision, persistence, and the programming skills of the team he's assembled that are making OEM quality parts available for custom conversions like the PorschEV.

A project like this is never finished, and there is still much to refine, but this can now be done in small chunks while the car is in service. Not The End ...

Monday, November 2, 2015

Details and More Details

Went over to Pro Automotive this morning to do some under-hood work in preparation for the air conditioner bring-up. Found Robert hard at work on the rubber window channels and waist seals.


The old ones were hardened and brittle to the point they crumbled when they should have flexed. The new rubber is supple and dark and should seal the windows and prevent rattling. A bit of a struggle to install, but Robert figured out how to bend and guide the new parts into the two separate channels in the window frame.

My job this morning was to move the power brake vacuum pump valve out of the way. It was directly over and blocking access to one of the air conditioner fill valves.


Also on today's work list is finishing the high voltage wiring for the electric ac compressor so we can test it after it gets its freon charge.


With the terminal connections done, all that remains is to run some orange accordion loom over the wiring so we're consistent in identifying high voltage cable runs for emergency response personnel. Hope we never need it!

Sunday, November 1, 2015

I Love it When a Plan Comes Together

Only one picture today, but it's beyond exciting!


After two years of gathering parts, planning, head scratching, thinking and rethinking, and trial and error, Robert sends me this and says that the hood closed with plenty of clearance.

I can't get over how beautiful the front end looks!

I'm heading over to Pro Automotive tomorrow morning to finish the wiring for the air conditioning compressor. Now I'm anxious to have a look. There are still many details to take care of, but I think by the end of the week we'll be able to declare victory!